Showing posts with label tutorial. Show all posts

Tuesday, 6 August 2013

{AD} DIY Nail Art - Nail Dress


Want to have pretty nails done in a short time and not only plain color one. I found a very useful tool that helps me a lot. Always feel like want to have pretty nails during exam time but to apply nail lacquer will use up many study time but with this tool, my problem solved ! 
Here is it ! Nail Dress !

You can have many different way to use Nail Dress.

Purchase Nail Dress at Sasa !

Here is my way to style my nails.


Used the nail grinding tool to remove the excess sticker in one direction.

Here the french manicure.
Easy right ?

Another style on my toenails.
Hope you like it and purchase your favorite design of Nail Dress from Sasa Store .


Stay turn~
Have a nice day.


Thursday, 25 April 2013

Low Fat Yogurt Mask


I planned to blog after my final exam is done but i blogging now doesn't mean that my exam is over however i just done 1 paper so far, 4 papers to go. I decided to so a short post and i bet this is useful for you especially those who don't feel like spend most money like me. This method is not created by me but i did some research in Google before i really start to use it.
As u see the title,yogurt mask that i mention definitely not those mask that you can buy is Sasa and cosmetic shop otherwise i won't say that it is for those who don't want to much money so don't get shock when see the photo above. I'm here not to show you how to eat but how to use it.

There is many brands of yogurt in the market,and i like Marigold the most (not to advertise Marigold). You might ask yogurt also got different ? YES ! The saturation of the yogurt is different for each of the brands. I did not try all the brands in the market but only few. The saturation of Marigold yogurt is thicker and it is more easy to apply to face and not that easy to flow down from the face and of course the amount you apply also interrelated.  

 Because of hygiene purpose, i take the amount of yogurt that i need in a container instead of directly use the spoon and apply to face then take the yogurt using the same spoon and apply to the face again. It is totally not hygiene and the yogurt will mold !! 

 After you take the necessary amount of yogurt you need and now is time to apply it to your face.
I use another spoon to take the yogurt.

 Apply it to your face and wash it off with water after 20-30 minutes then apply toner and other of your daily routine.

And one thing you have to know is use the plain natural yogurt, do not buy those with fruits one. 

One can of yogurt can use for 15-20 times,it's depends on the amount that you apply. One can of yogurt cost you about RM1.60 and you can use it so many times which means everytime you apply only cost you RM0.10 or even less than that. It superb cheap and i think it is suitable for all skin type especially for those who have dry and combination skin that your skin is dry and peeling always. Based on my experience,it is good in moisturizing. My nose is dry always,my nose do not peeling after i apply yogurt. 

You can have a try since it is so cheap. I apply yogurt almost everyday,you may use it everyday or 2-3 times a week. My friend like it after she try. You can share your experience with me if you use it as mask or you try it after you read my post.


Stay turn~
Have a nice day.


Monday, 25 March 2013

Easy Bow Hair Tutorial


If you are my follower,i bet you know that i'm a big big ribbon lover ! I tried to make bow hairdo long time ago but FAILED. I saw many photos and searched the tutorial from YouTube about the steps how to make bow hair until my friend tagged me in one of the photo and i got the impulse to try again. I am succeed this time. So happy !

At first,i just think to make photo tutorial but after i tried,it is quite difficult since no one is helping me to take photo so i have to take photo and make the bow hair all by myself. So i decided to make video tutorial which is much more easy actually.

Remember PRACTICE MAKE PERFECT ! For those who have medium or long hair are able to DIY this bow hair.


Here is the video tutorial :
Let's learn this updo bow hair and you can have a special hairstyle when outing.

Here the photo tutorial : 
 I think video tutorial is more easy for understanding.
Hope you like it.


Stay turn~
Have a nice day.


Tuesday, 5 February 2013

Ready for CNY ? Ready for 3 in 1 ?


Are your ready for this post ? 
This post will be a 3 in 1 post which i mix dresses,BB cream and DIY nail art tutorial together in one post.

I bought 2 dresses from Urdreamz Boutique  . Due to their low price and good quality,so i decided to help them promote. They provide good customer service also which is the most important for me ! Urdreamz Boutique closed their batch which can delivery before CNY ,the batch i bought was the last bacth before CNY. But i bet girls won't stop shopping after CNY,normally we still keep shopping after CNY right ? Btw,they start a new batch which delivery on March. So girls..keep hunting !!
Unprofessional one :p

I gonna mix & match the red color dress.
4 styles i mix & match using those apparels and accessories that's in my wardrobe.
  
Here the 2nd part, i received the doorstep sample from L'oreal Paris which is a Lucent Magique BB Cream.


Here is make a review of L'oreal Paris Lucent Magique BB Cream.
Before.

It's different from other BB Cream that we normally see because it is white in color. I was shocked when i squeezed it out out. Never see white color BB Cream before and i like it after i tried it. 

After.
I didn't apply much but still can see the different. I like it because it cover my pores and my skin tone is more fair and evenly.

Here the 3rd part also the longest part among 3 because it is a CNY DIY nail art tutorial / idea.
If u don't want to pay much money on your hand and u actually can choose to DIY yourself .
This is the all 5 ideas/tutorial i gonna share. RED color is the main color because of CNY.

All the tools i need.

Applied 2 layers of nail lacquer to make the color evenly.

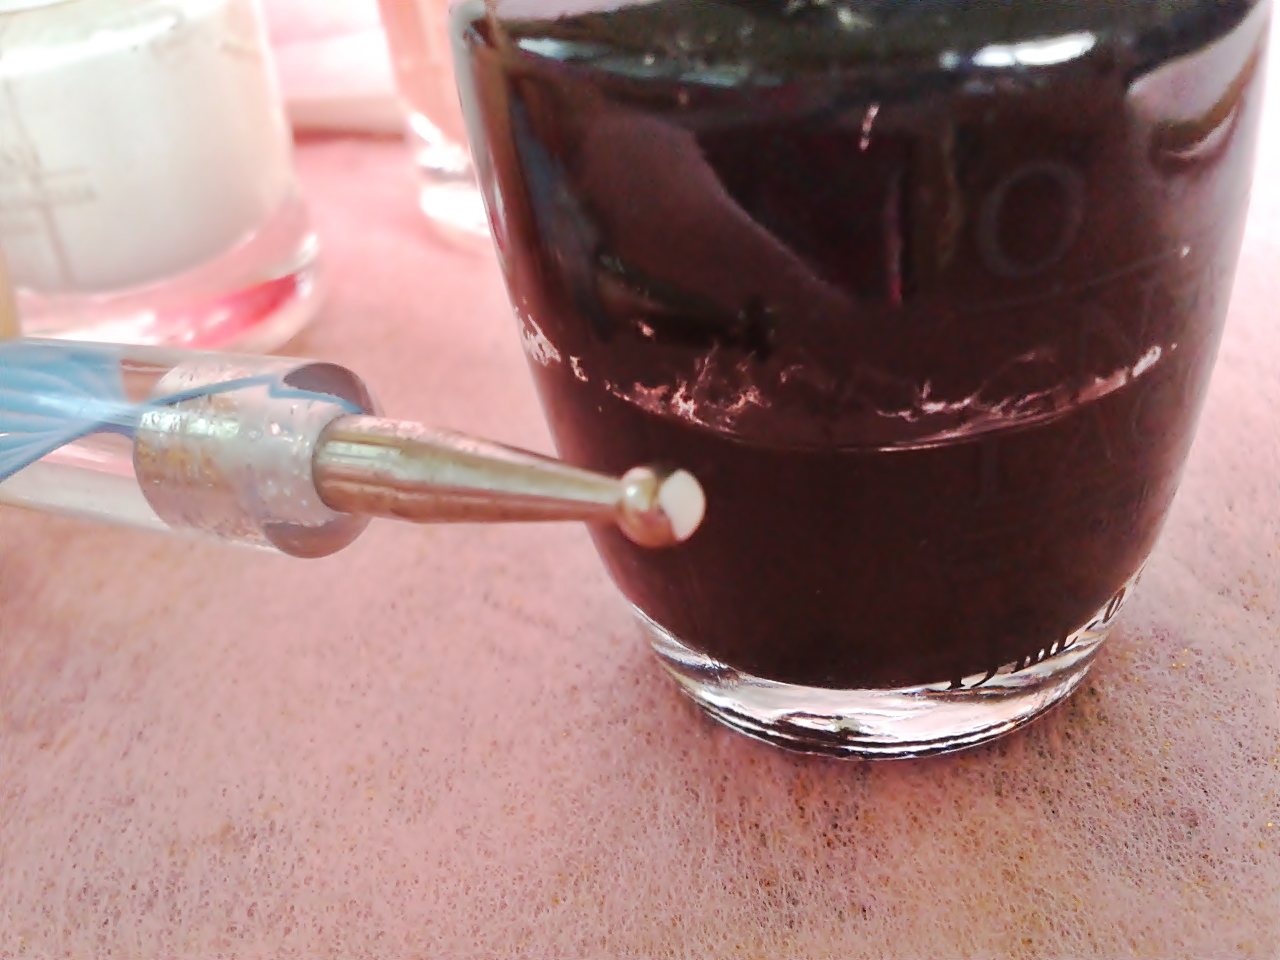
First,use the nail dotting tool.

Apply some nail lacquer on the dot.

And dot it to your nail.
I made 2 big white dots.

3 small light pink color dots.

Another 2 small fluorescent pink color dots on top of white dots.

And 4 small black color dots.

That's all for the first nail art.

Here i made red flower which suit the CNY so much.
5 dots = 1 flower.

Fill the whole nail or if u want a more simple and clean look u can just dot 3 flowers.

Dot black dots in the middle of each flower.

Here finish the 2nd nail art.Easy right ?
Here i show another one which using nail art pen brush.
I bought this from Taobao which is super cheap. Those accessories shop/ nail art shop of Malaysia normally selling at higher than 100% or even expensive compare with Taobao.

Apply some red color lacquer on the brush and slowly make a straight line and make it wider.

Draw a fluorescent pink color which thinner than the red one.

And use the light pink color to draw the thinnest line.

Add another black color right beside red color line.

That's all the the 3 nail art.

Use red color and brilliant nail lacquer to draw line. 

And use the same step but is in the opposite direction.

That's all for the 4th nail art.

Here the most difficult nail art among others which is ribbon.
Draw a ribbon shape with color lacquer.

Dot 3 black color dots on the middle using the dotting tool.

Draw 4 lines on each ribbon and 2 on the left and 2 on the right using the nail art brush. 

And use the brush with red color lacquer to draw the shape of the ribbon.

All the 5 nail art ideas/ tutorial are done ! 
Finish all the step with top coat and it's really done ! The usage of top coat is to conceal the uneven nail lacquer which always happen when u buy cheap nail lacquer or lack of skill ( like me ) and top coat can enhance the nail lacquer which make the nail more flare.


That's all for this post.
Hope u like it and Happy CNY.


Stay turn ~
Have a nice day.


Sunday, 27 January 2013

{AD} Beautylabo Milk Caramelisee Review


Can't you believe that this is the first time i dye my hair ?? 
Yup, it's the first time to dye my hair in my life !! No lie because Mami not allowed before that and i persuaded her one day after i tried to persuade her for years ! I choose not to go salon because i don't want spend too much money so dye myself will do. After few times i checked out few brands and their colors and   the hair dye brand that i chose at the end is Beautylabo.
The color i chose is milk caramelisee 

I chose this color because the color look like "duck feces green" (鸭屎青) when i saw the sample hair color which place with the hair dye in Watsons which is a nice color. I don't feel like dye brown color as brown color is a popular color that everyone will dye. But ...... (tell you what happened later)

It's free gift.

All the things inside. 
A pair of gloves, color powder,chemical liquid,treatment cream and 2 language of instruction leaflets (Japanese and Chinese).
  
My original hair.

It's look like brown color but it's really my original hair which never dye before.

The instruction leaflet is quick detail so don't worry that u can't handle it by yourself.

First : change a unused shirt and wear the gloves.

Second : Pour 2 & 3 inside the cup.

Third : Close the cup and shade up and down at least 30 times then apply to your dry hair evenly.
Fourth : Rinse with water after 30 minutes and shampoo your hair.
Fifth : Towel dry your hair and apply with the treatment cream.  

That's all...easy right ?
Let's see the outcome.

Closeup.
I applied more at the roots so the top color is more obvious than the bottom one and i think the amount is not enough for my long hair,need 2 cup may be.

The hair at bottom just like my original hair,not much different actually. What i can say is the brown color of my hair is just more evenly than the original one as the original one still got black color.

And as i mentioned before,i bought this color because i want to have a bit green color but it just have brown color only ..No any green color which i feel disappointed and i said i don't want brown color but now my hair color is brown. :'( 
Thinking of whether i should but another cup of hair dye to dye the bottom hair or just leave it like this. Any suggestion for me ?

Not really have much different i think and i think this brown color not really suit  me :(  What to do ? haiz..feel sad that i can't get the color i want.
Btw, finally i dyed my hair 


Stay turn~
Have a  nice day.


Related Posts Plugin for WordPress, Blogger...